Let’s build a box!
I’ve joined a course run by Blackhorse Workshop to learn the basics of joinery and powertools.
It’s spread neatly over five Tuesday evenings. The plan is to build an open fronted box.

Lesson one
So far we’ve learnt how to use a drill (really starting with the basics), and a router. Now I finally know what the numbers are on the ring around the drill, touque settings for screws!
We started the first evening by learning how to join two bits of wood togther using screws. Simple, but does the job!
Lesson two
This week we tried out biscuit joints and how to use a router for rabbit and dado joinery.

Building the box!
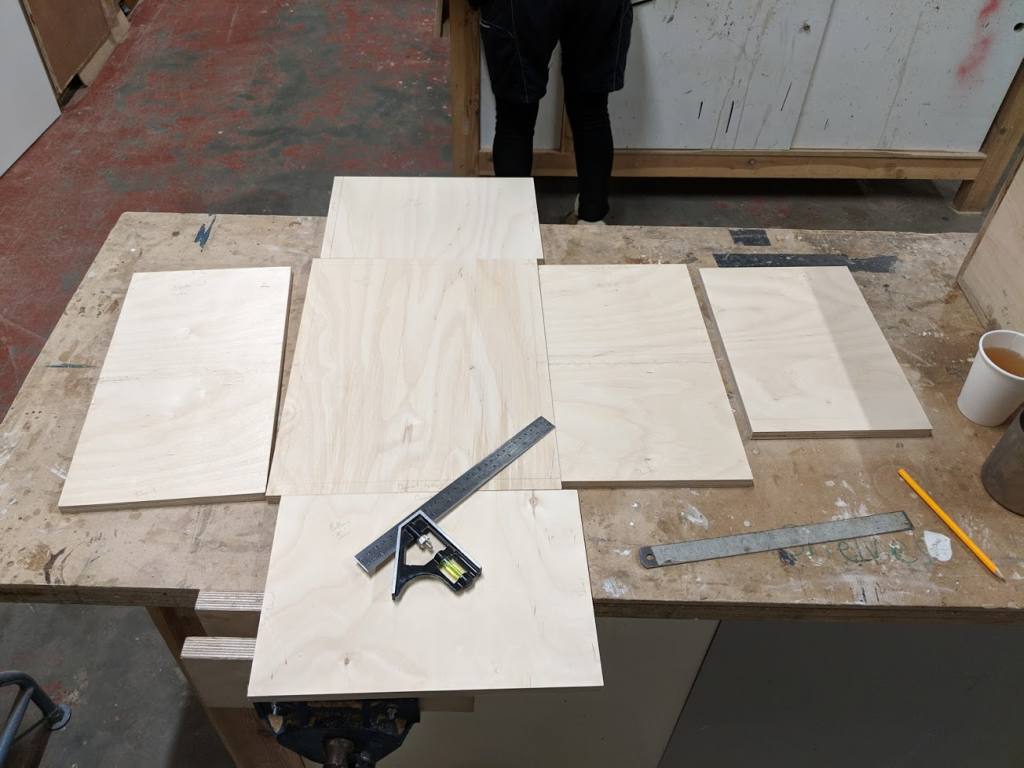
The start of the box build! We were given precut pieces, all we have to do is put it togther…
First things first, I went straight into cutting the dado rails. Scary stuff, no something you can fix easily if you mess it up.

Success! The two boards lined up perfectly.

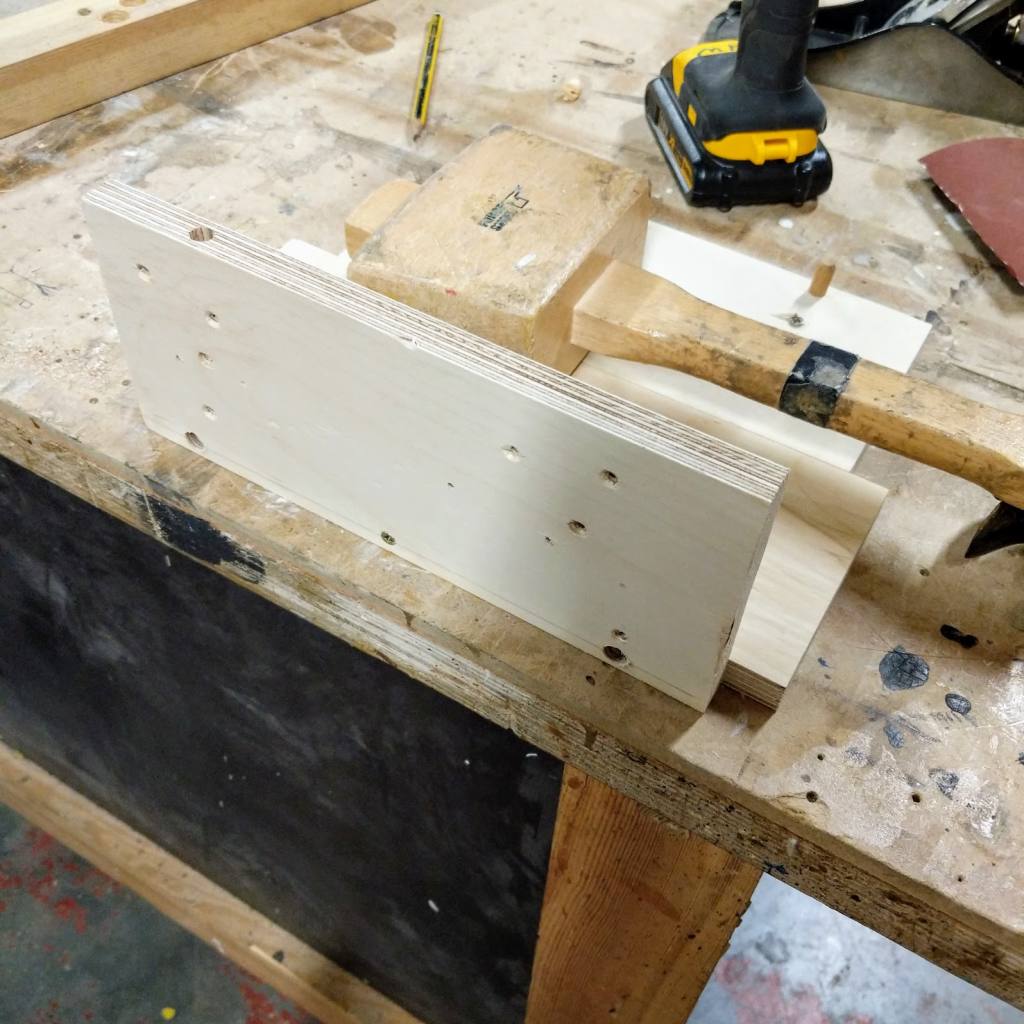
I used dowel joints and a whole buch of glue to stick the sides togther. On the top the dowels were hidden to pair with the rabbit joint that we had to do on one side. And on the bottom I drilled the dowels all the way through, it looks pretty neat.

The final step was to put the back on. Again I used dowels and drilled all the way through. And lots of glue. And clamps.

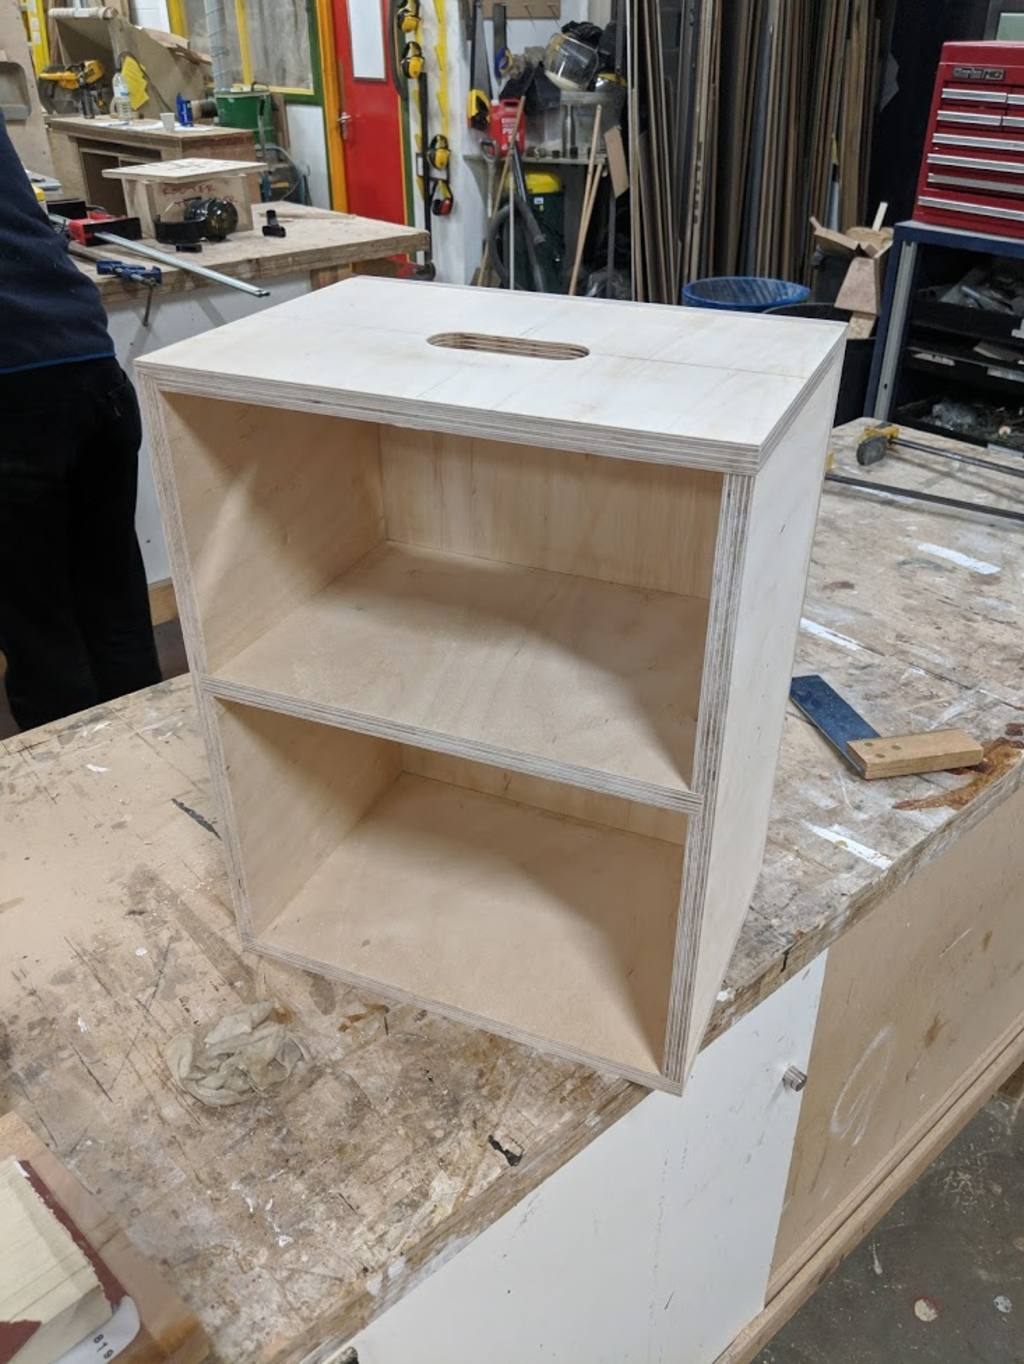
The end result
Here it is! It came out really well. Plenty of sanding later and I finised the surface off with some Osmo hardwax oil at home.